Curious about Windows 10X? This is how Microsoft provides it.
As previously reported, Windows 10X was explicitly developed for dual-screen and foldable devices that Microsoft initiated. Windows 10X is still based on the essential Windows 10 experience, so you will not take a vast space to get used to it.
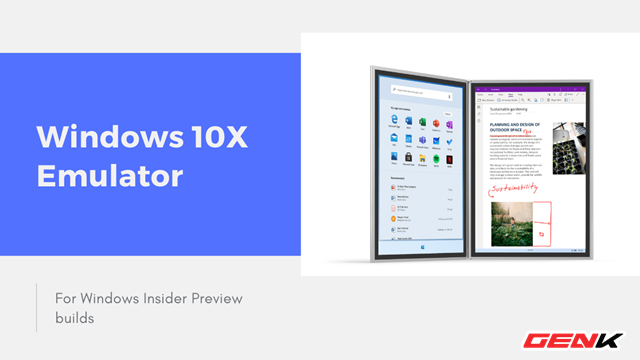
The overall experience on Windows 10X is straightforward, convenient, and everything is arranged in a very reasonable way, as expected of users. Of course, Windows 10X still needs some tweaking, but overall, this can be considered the right direction that Microsoft has chosen for the new device category to appear on the market. There are features of Windows 10 that you may find quite odd, but when brought to Windows 10X, they suddenly become much more reasonable. And one of them is modern applications (UWP).
If you are an application developer or simply passionate about technology, want to try Windows 10X on your device, Microsoft is ready to help you as follows.
You can try Windows 10X directly on an existing Windows 10 computer device through emulation.
Exactly, with the latest version of the Microsoft Emulator application just released by Microsoft on Windows 10, you can ultimately try Windows 10X directly on your Windows 10 computer without having to go through complicated installation steps.
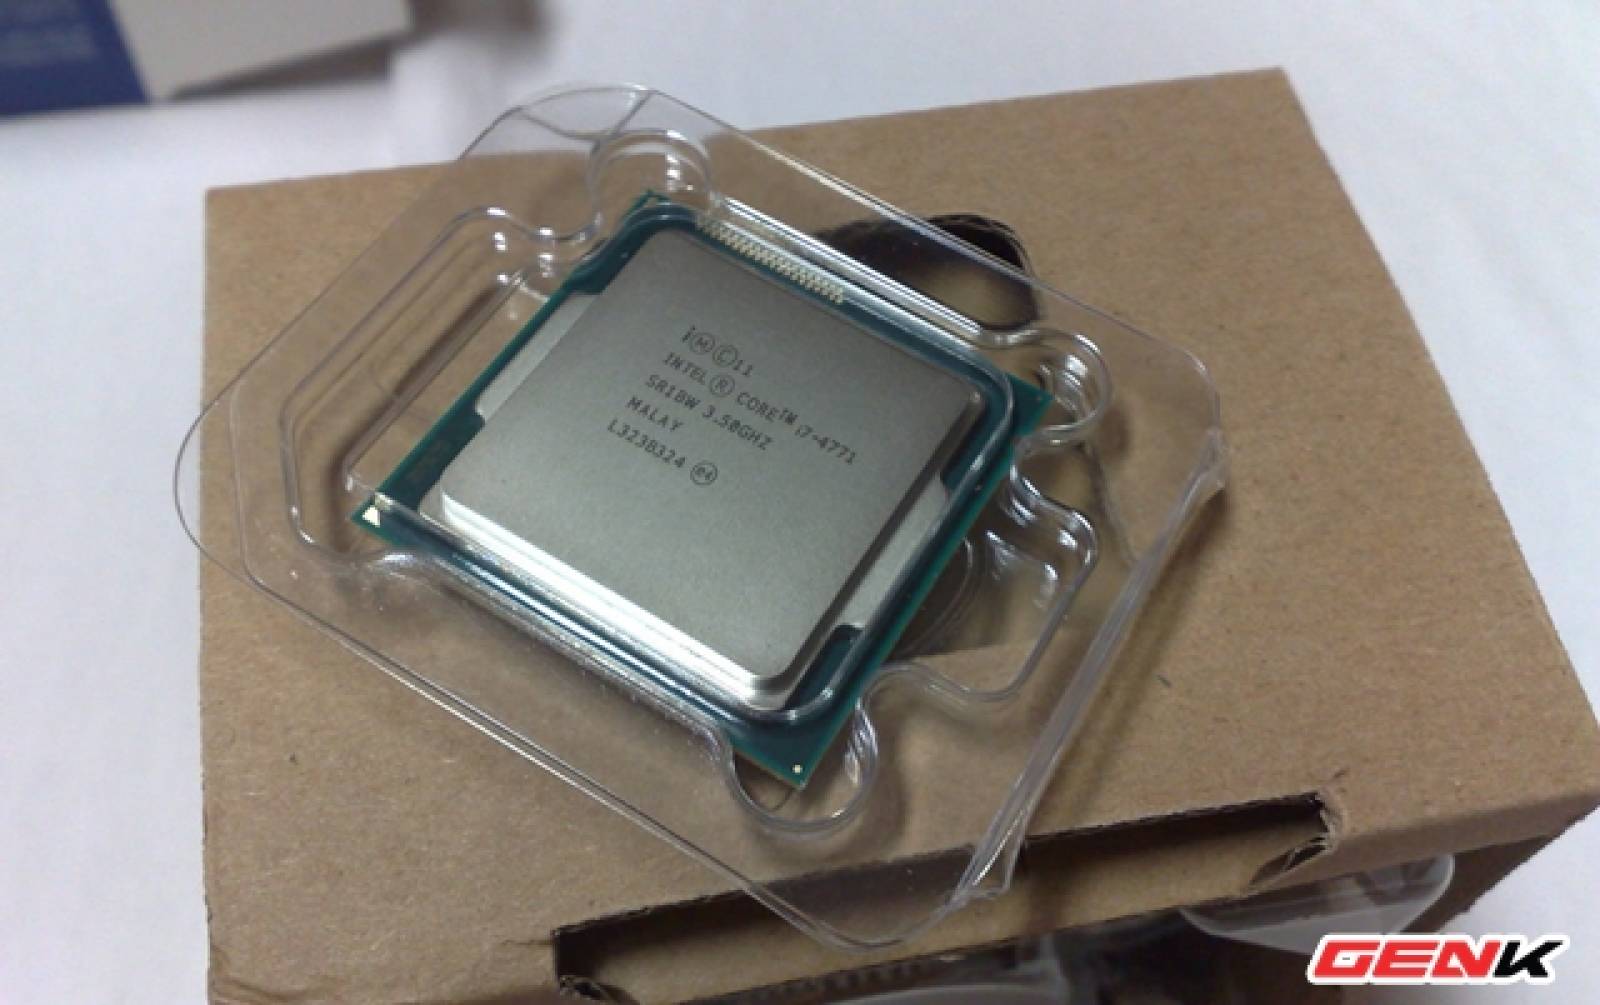
Your computer must have a configuration that meets the emulation needs. The specific configuration and minimum requirements include:
– A computer running Windows 10 Pro, Enterprise or Education (x64) build 19555 or higher from the Windows Insider Program.
– Computer with Microsoft Hyper-V support with GPU-PV for hardware acceleration tasks.
– Intel processor with at least four cores, with virtualization support.
– Minimum RAM of 8GB or higher.
– 15GB free hard disk space> 20GB (SSD recommended).
– Separate video card with support for DirectX 11 and WDDM 2.4.
Additionally, the computer hardware must support Second Level Address Translation (SLAT) and Hardware-based Data Execution Prevention (DEP) enabled on Basic Input / Output System (BIOS) or Unified Extensible Firmware Interface (UEFI) of the board.
Prepare
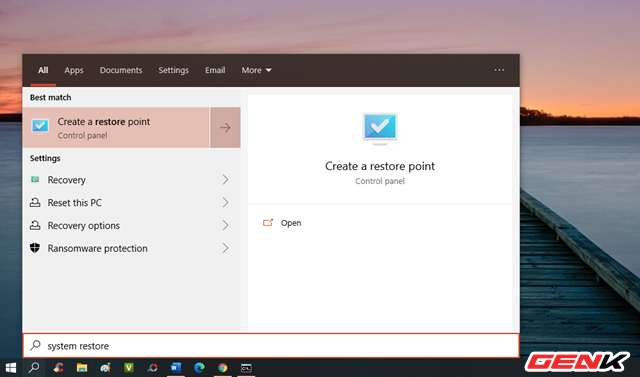
Enter the keyword “system restore” in the search box and click the “Create a restore point” result.
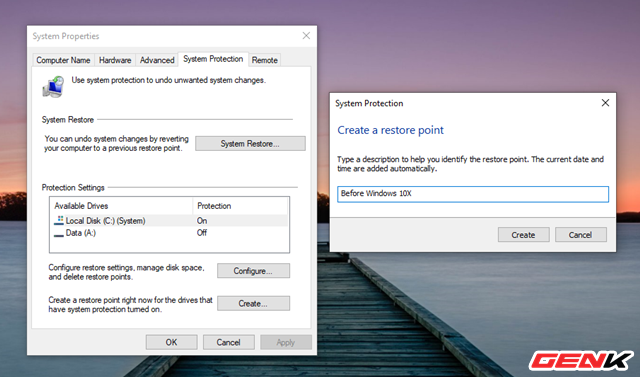
Click on the system partition (usually “C”) and click on “Create …” name the system restore point so you can quickly restore Windows to an inactive state and use an emulator. Windows 10X.
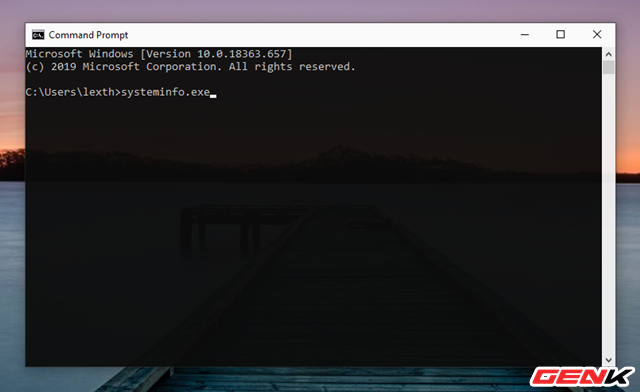
Once the system restores point has been created, check if the Microsoft Hyper-V component is supported by entering the “systeminfo.exe” command into the Command Prompt and then pressing ENTER.
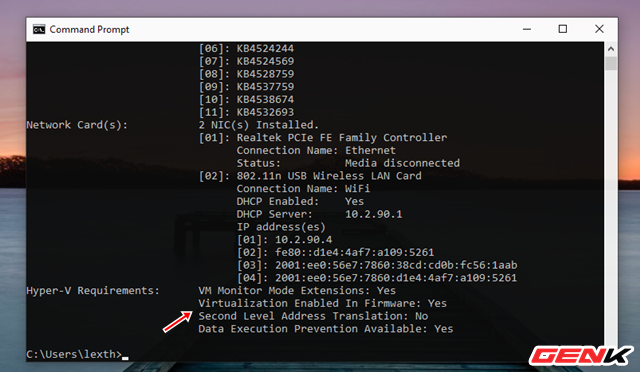
If “Hyper-V Requirements” returns “Yes” then you can run Hyper-V.
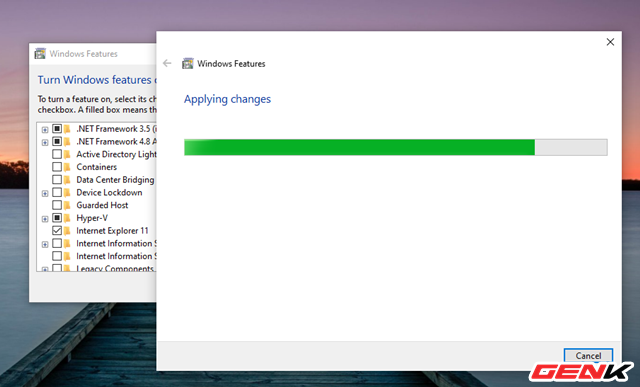
If the command displays “No” under Hyper-V Requirements, your hardware does not support this feature, or you need to enable it manually from “Turn Windows features on or off””.
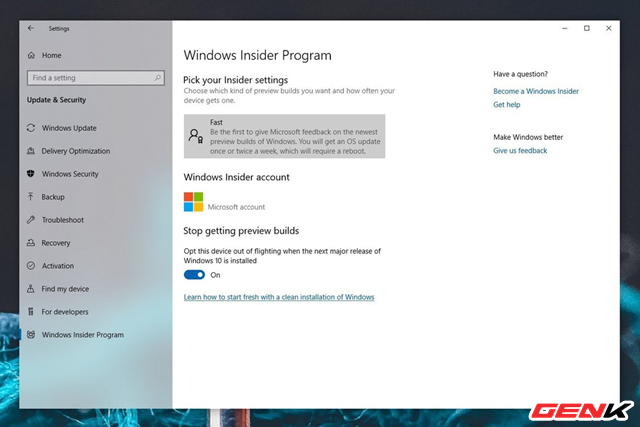
Because the Microsoft Emulator emulator is only present in the Windows Insider version, you need to convert your Windows 10 version to the Windows Insider Program by going to Settings> Update & Security> Windows Insider Program> Becoming a Windows Insider. Enter the Microsoft account you’re using on your computer and select “Pick your Insider settings”, select “Fast”.
Your only remaining preparation job is to open Windows Update, check and install the latest Windows Insider Build update.
Install Microsoft 10X Emulator setup
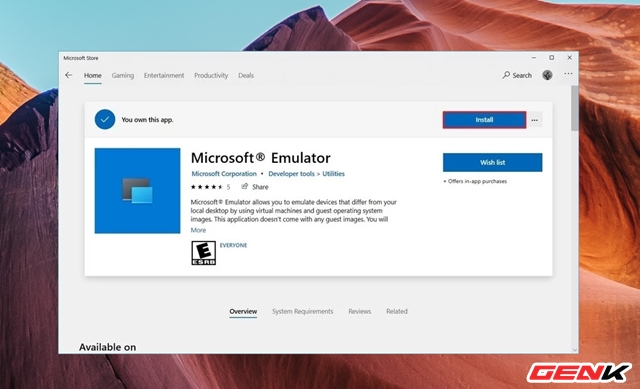
Start the Windows Store, find and download the Microsoft Emulator application.
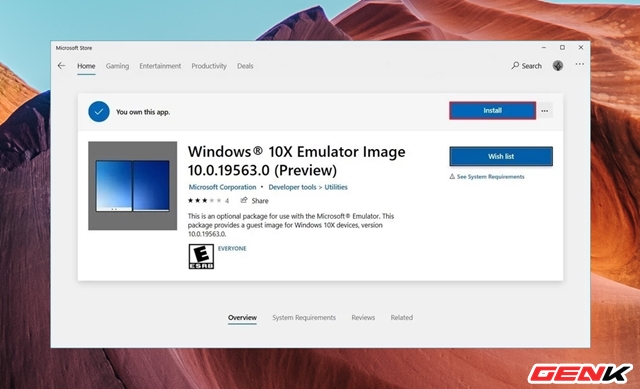
After installing Microsoft Emulator, continue to find and download Windows 10X Emulator Image.
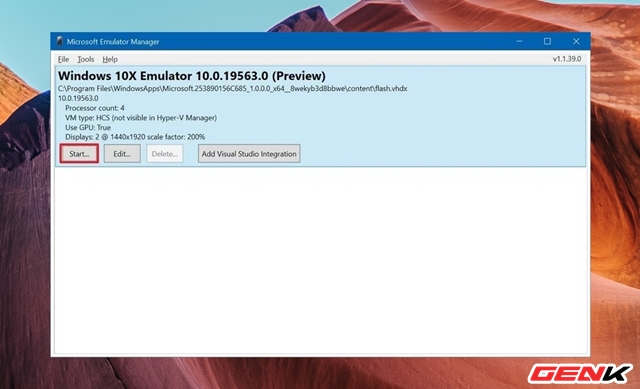
After downloading and installing the Microsoft Emulator and Windows 10X Emulator Image, open the Start menu and start the Microsoft Emulator application. You should see the Windows 10X Emulator appear in the list. Now click Start.
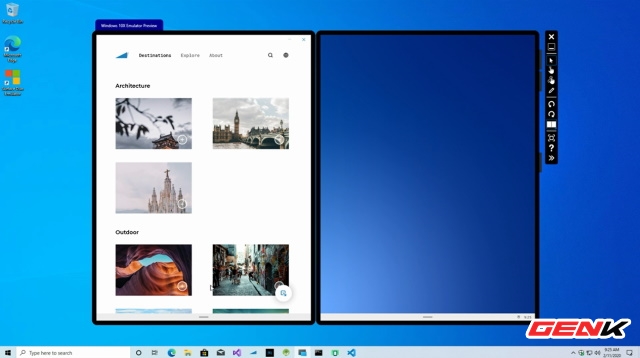
The Windows 10X emulator will appear. And you have to discover it!
Very simple, right?
Source: GenK


