If your Windows system is acting weird or can’t stand it, the first thing you need to do is scan and remove any viruses or malware. Also, another reason could be corrupt system files. There are many reasons why system files get corrupted, such as a sudden power failure, system crash, errors while updating, version mismatch, etc.
No matter what the reason, if you think your system is slow or hvee system files are corrupted, here’s how you can scan and fix corrupt Windows files using the DISM command-line tool
How to Scan and Fix corrupted files with PowerShell
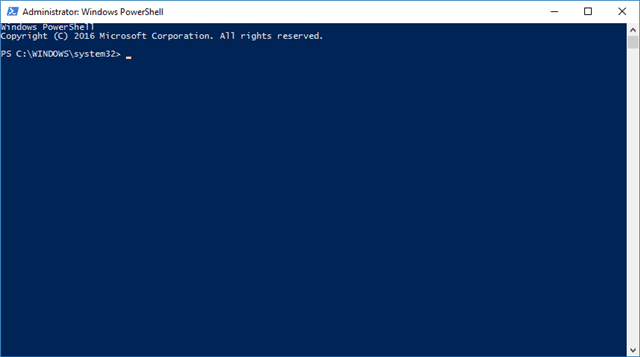
We will use Windows PowerShell to show you how to use Deployment Image Serving and Management (DISM) to scan and repair corrupted system files in Windows 10. However, using Windows PowerShell 10 after the Anniversary Update proves more effective than using the Command Prompt path we have mentioned here.
Open PowerShell or with Cortana. Make sure to select “ Run as Administrator ” when you do so.
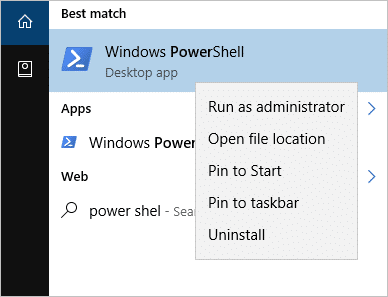
Now type the following command into the PowerShell window:
SFC / SCANNOW
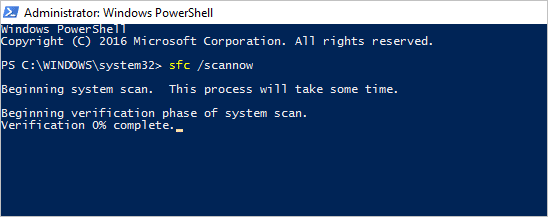
If this first scan detects any problems, Windows will try to fix them. If Windows can’t repair them, it will warn you that more research is needed.
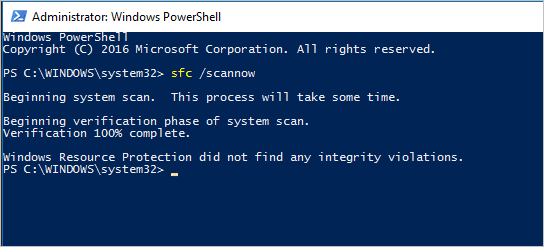
From there, you will need to run a DISM scan. You can do that with the following command:
DISM / ONLINE / CLEANUP-IMAGE / RESTOREHEALTH
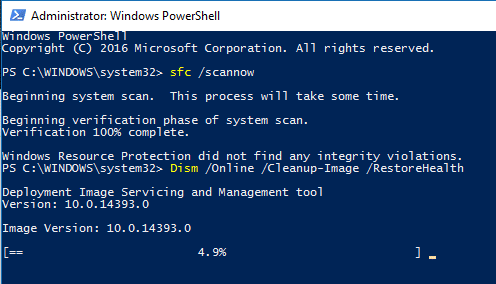
This scan takes a while and can get stuck at some spots, typically around 20%. Let it run until finished.
If the DISM scan finds any corrupt system files, Windows will try to fix them and provide you with a progress report at the end.

Suppose Windows is unable to find the files needed to repair the corrupted system files. In that case, you’ll also be given information on what to do next with a link to Microsoft’s website and troubleshooting options.
If you have Windows installation media on a USB drive or CD / DVD, you can rerun the scan and point the scan to use the source media to find files that cannot be scanned during the initial scan.
To do this, run the following command after replacing “X” with the drive letter of your CD / DVD drive or USB drive:
DISM / ONLINE / CLEANUP-IMAGE / RESTOREHEALTH /SOURCE:WIM:X:SOURCESINSTALL.WIM:1
If that still doesn’t work, try this command:
DISM / ONLINE / CLEANUP-IMAGE / RESTOREHEALTH /SOURCE:WIM:X:SOURCESINSTALL.WIM:1 / LIMITACCESS
The above command only restricts Windows from using what’s in the source document and not to look for an update in Windows Update during the process, which could cause more problems.
Rerun this command:
SFC / SCANNOW
After rerunning the SFC scan, follow any instructions in PowerShell or Command Prompt, then restart your computer.
Conclusion
If you have upgraded to the Anniversary Update, we recommend using the PowerShell method vs. the Command Prompt for more satisfactory results. If the steps above didn’t fix the corrupted file’s problem, you can check one thing in the troubleshooting list and move on to the next section.
We recommend contacting Microsoft specifically about the issues you’re having with Windows 10. They will be able to provide other troubleshooting options to fix your specific problems. Try the Microsoft support center.


