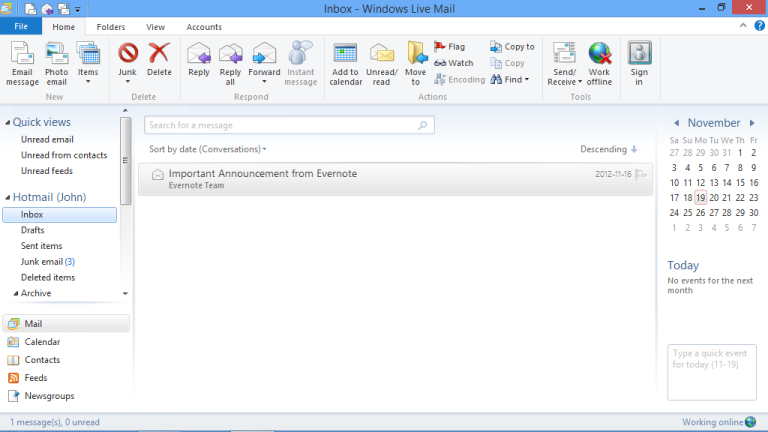
Most users using Windows Live Mail probably went through the account setup process when they first launched Windows Live Mail, but if you want to include additional email accounts and don’t know how?
In this tutorial, I’ll show you how to include additional email accounts into Windows Live Mail so you can access all your emails in one place.

Windows Live Mail interface
Note: Windows Live Mail is a component of Microsoft’s Windows Live applications that can be obtained free of charge from Microsoft and complemented by Windows Vista and Windows 7.
Restrictions apply
As with most applications, some restrictions on the types of servers and email service providers supported.
Windows Live Mail currently supports most webmail providers, including Hotmail, Windows Live, Gmail, and Yahoo. If you are using another email service provider and are unsure what information you need to enter, shoot me an email, and I will try to help you as best I can.
How to Add Email Accounts to Windows Live Mail |
I will show you how to add an email account to Windows Live Mail in the following steps. You will notice that you can also add News Group accounts and Contact folder accounts in the process.
1. Open the Account Window
Click the green Windows Live Mail button located in the top left corner of the application window.
When the menu appears, click Options and then Email accounts.
2. Add Email Accounts
When the Accounts dialog box appears, click the Add button to choose the type of account you want to add to Windows Live Mail.
3. Select Account Type
You will have three types of accounts that can be added to Windows Live Mail;
- Email Account – Option to choose if you are looking to add an email account for each of these instructions.
- Newsgroup Account – If you subscribe to a newsgroup, you can use Windows Live Mail as a Newsgroup Group reader to keep up with the group you subscribe to.
- Contacts Directory Account – If you use Gmail or another service to keep track of your contacts and want to access those contacts when writing emails in Windows Live Mail, be sure to check this option.
We will focus on Email Accounts, select it, and hit Next to continue for this tutorial.
4. Add your Email Address
On this screen, you can enter your email account credentials along with the option to set your Display Name.
Be sure to check to Remember this password if the computer is not shared. If you have multiple users on the same account, you can uncheck this option or create various Windows user accounts without worrying about your privacy.
If you have multiple accounts and want to create the one you’re adding by default, select the Set this account as a default check box.
Install the server manually.
Note: If you are using an email service provider that is not configured automatically using Windows Live Mail, or if you are hosting your email server, you may need to configure the server settings manually Email.
To do this, check Manually configure server settings and click Next. Add the pertinent information required to connect to the email server.
Once you’ve added your account and saved your settings, you’ll be able to access all of your email accounts in one place. You will notice that Windows Live Mail will have a section for each email account added. Enjoy the comfort of reading all your emails in one place.


