Whether your old laptop is feeling sluggish or your new system starts chocking up when you have too many tabs open, adding more RAM can solve the problem. If your computer doesn’t have enough physical memory, it will start swapping data into the hard drive or SSD, which is a lot slower than the slowest RAM chip. Although not all modern laptops give you access to RAM, many do offer a way to upgrade your memory.
If you can upgrade your laptop memory, it won’t cost much money or time. Switching between 4 and 8GB (the most common upgrade) usually costs between $ 25 and $ 55, depending on whether you need to buy the full amount or add 4GB. And swapping RAM chips will take between 5 and 10 minutes, depending on how many screws you have to remove. Here’s how to upgrade your laptop’s memory.

1. See how much RAM you are using
Low memory is often the cause of bottlenecks on your computer and can lead to slow performance and stability issues. If you’re a power user – multitasking on several intensive programs or keeping 30 or more browser tabs open simultaneously – memory is more likely to help your system run smoothly.
You can check your laptop’s memory usage in Windows Task Manager. Right-click on the taskbar and select Task Manager (in Windows 7, press the Windows key and type “task manager” into the search field). Then in the Performance Manager tab, see how much memory is being used in total available. You will also see how many physical memory slots are being used and how much memory is available to add more memory.
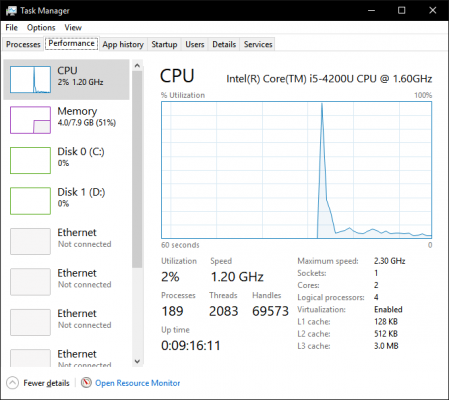
You will get a more detailed view by clicking on the “Open Resource Monitor” option at the bottom of the Task Manager window and navigating to the Memory tab. Note that the screens are slightly different in Windows 7 (the screenshots below come from Windows 10).
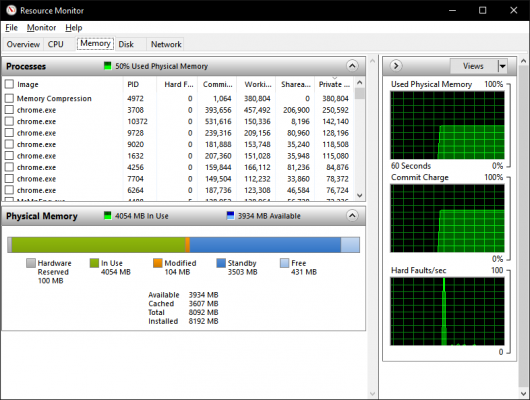
If you are near or over the amount of physical memory, you know you need more.
2. Find out if you can upgrade
Unfortunately, many laptops have bottom sealing or memory soldered on the motherboard, both situations that prevent you from upgrading RAM. It’s also possible that the system just wasn’t able to recognize more than a certain amount of memory, and you were able to reach the maximum. To find out if you can upgrade your RAM, try Crucial’s Memory Advisor tool. After entering your brand and exact model of the laptop, you will get a screen that shows the maximum amount of memory and how many slots your laptop has.

The key features also list the memory modules you can buy for your laptop. However, you may also get similar DIMMs from other brands. Note the speed and type of RAM you need; usually DDR2, DDR3, or DDR4 with a specific speed next to it (e.g. “DDR3 PC3-12800”).
3. Open the control panel to locate your position
With your additional memory on hand, it’s time to upgrade your laptop’s memory, a pretty straightforward process. First of all, turn off the laptop and unplug the adapter.
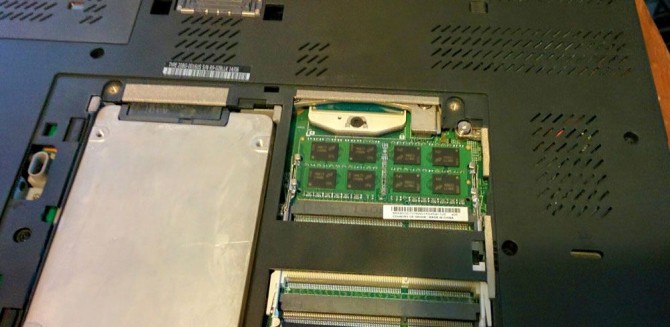
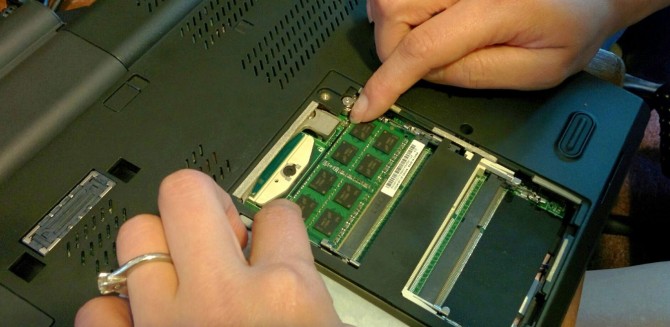
Then open the control panel at the bottom of your laptop that includes the memory banks. (Depending on your system, you may have to remove the entire back of the laptop to access memory and other components.)
3. The basis to avoid electrostatic discharge
However, before touching any computer component, touch any metal surface inside the computer (for example, the back of the hard drive or the metal tip for another element). This will release any damaging static electricity from your body.
4. Remove memory if necessary
If all of your memory slots are full, you will need to pull out the existing DIMMs to replace them. To remove the memory module, push the clips holding it in place. The memory modules will pop up at an angle.
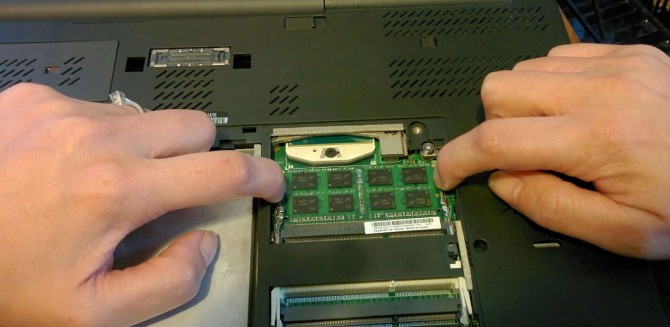
Then, holding the memory module by its edges – without touching the yellow connector on the bottom, lift it out.

5. Install new memory modules
Next, insert the new module into your opening at a 45-degree angle, with the gold edges facing downwards. Use even pressure with your fingers at the top of the module to push them into place. When you hear a click and feel the DIMM slot in place, push the module firmly until it is installed flat and flat, with the clamps holding it securely.
That’s it! Turn on the laptop and go back to the System Information window or Task Manager to verify your new memory has been added. Enjoy your upgraded memory!


